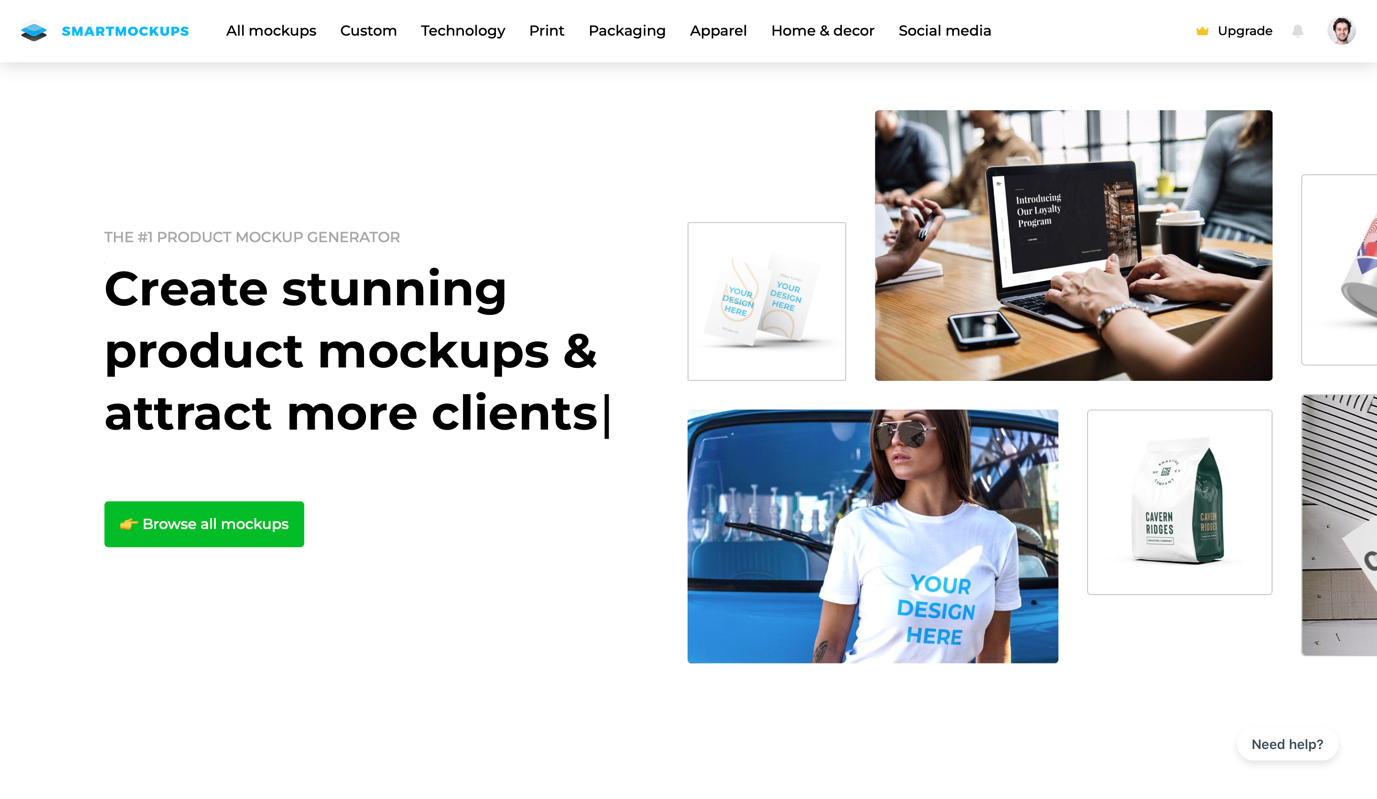
SmartMockups has consistently won the top spot when we have reviewed the best mockup generators. What we really like about SmartMockups is that they are constantly are updating their product with new features and mockups. As soon as Apple releases a new Macbook they add templates with the newest design.
Smartmockups is among the most capable mockup generators available. The fair and multi-tiered pricing model and lots of useful features make Smartmockups suitable for a wide variety of companies and individuals alike.
Now, this is only true for the paid version, as the free version is very limited. It allows for one user account, 200 scenes, and the platform’s most basic features. With the free version, you can only add product images from your device and have just a handful of editing options.
Springing for the Premium subscription unlocks a host of new capabilities. You get unlimited access to all the mockups and:
If you or your company needs mockups regularly, then you might want to go a step further and subscribe to the Pro version. In addition to everything that Premium offers, you get:
And finally, if you’re a creative agency or have a marketing department, you can benefit from Smartmockups Team. You get everything in the Pro version and:
You don’t need to have much design or other technical skills to use Smartmockups. For the most part, the interface is highly intuitive and easy to use, save for a few minor shortcomings. The point is that almost anyone can create professional product mockups with Smartmockups.
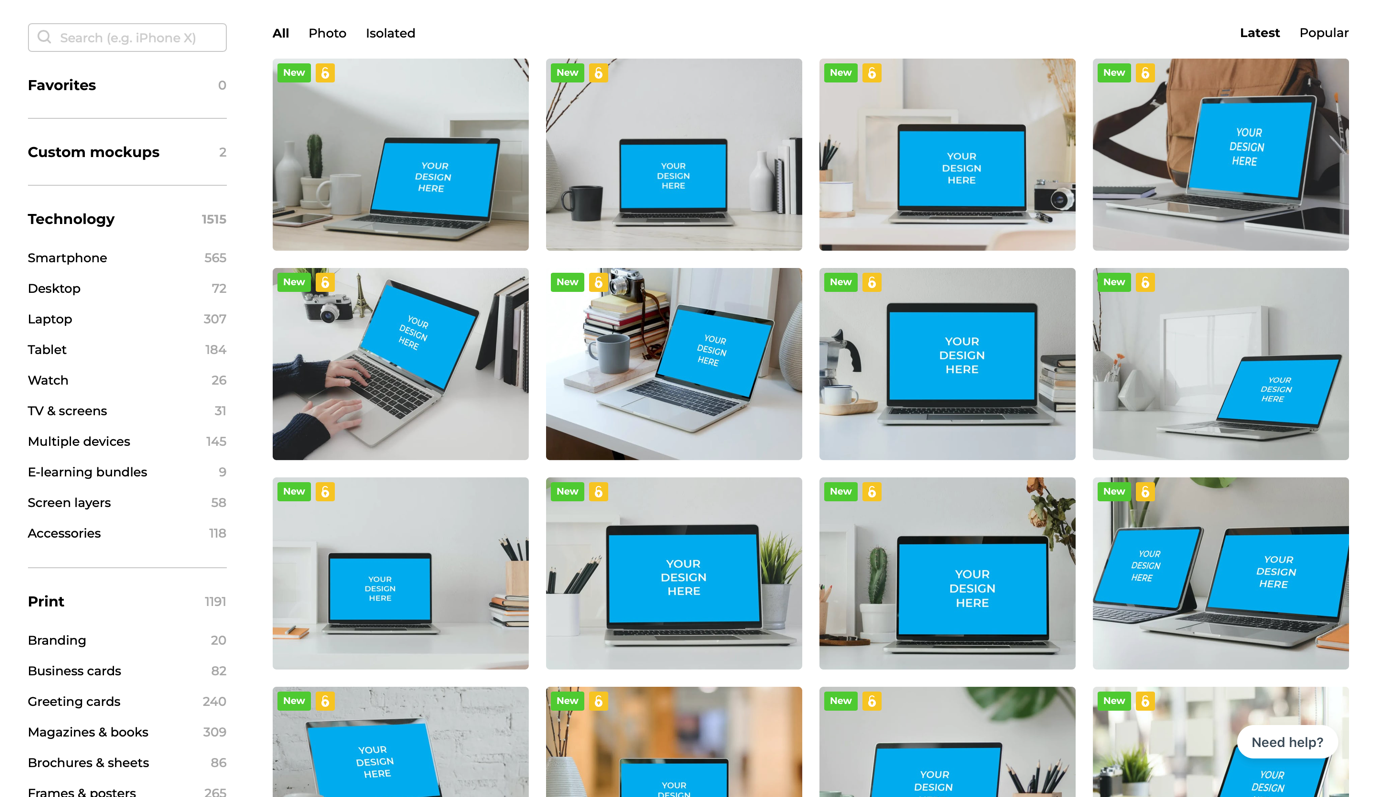
Smartmockups offers more than 4,000 scenes divided into six categories:
To find exactly what you’re looking for, you can further refine your search by browsing the subcategories. You can also filter the results to show isolated products or have them placed in a photo scene. If you have any particular mockup in mind, you can type it into the search box.
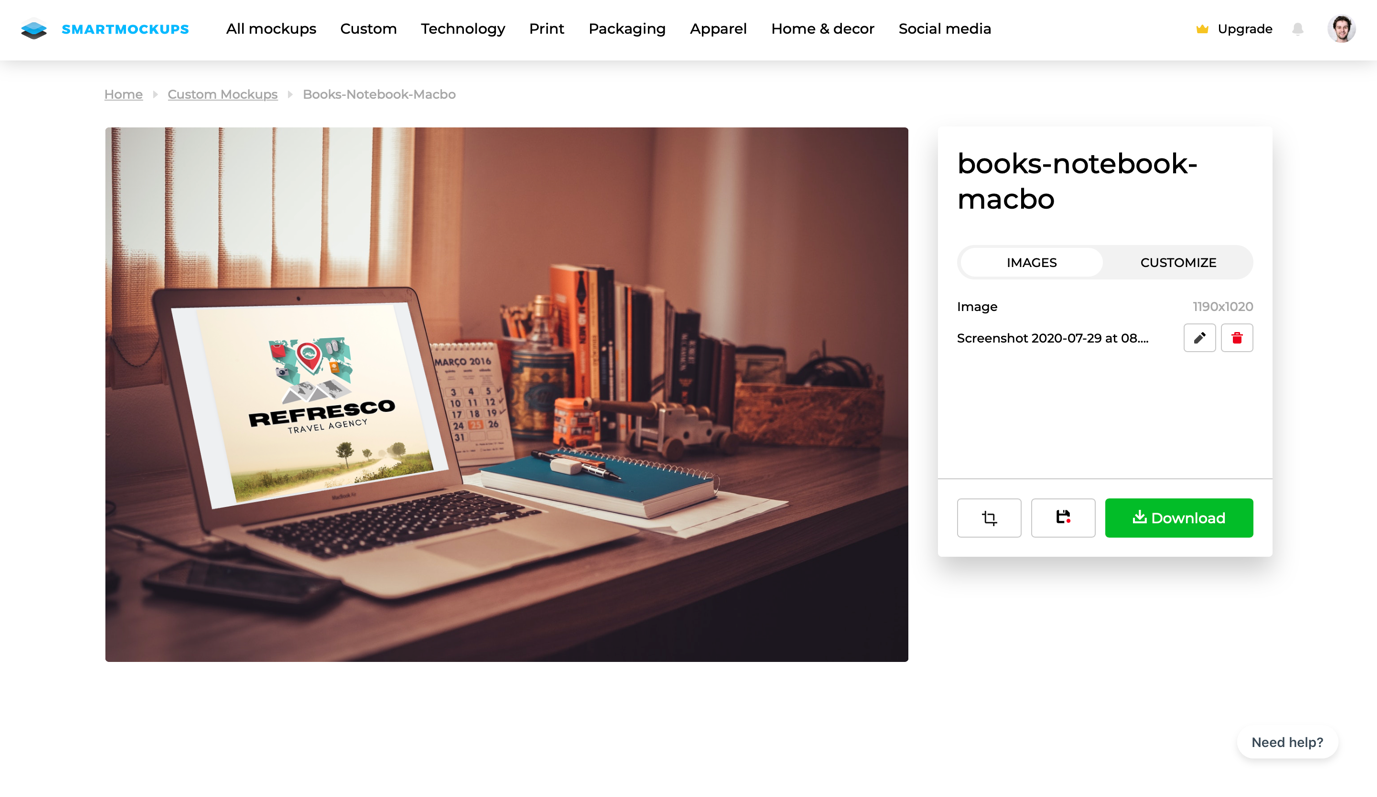
When you find the right mockup and click on it, you’ll get to the editor. On the right side, you’ll see two editing tabs – Images and Customize.
Within Images, you’ll first get two options for uploading your product photo. With the free version, you can only do this directly from your device. The Premium version allows you to connect Smartmockups to a third-party app like Dropbox and Canva and upload directly from there. And if you have Smartmockups Pro, you can upload videos and GIFs to create mockups.
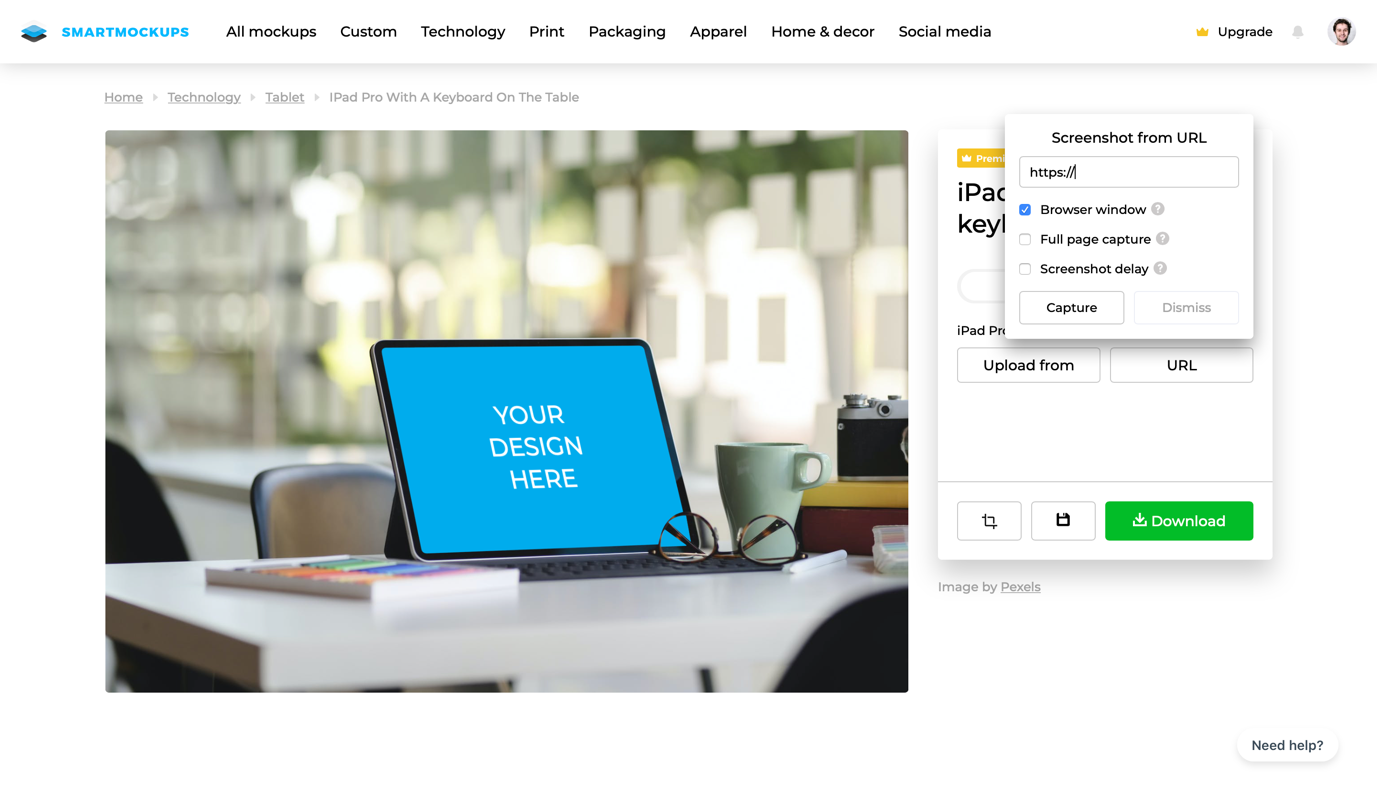
Smartmockups Premium comes with another handy feature in the form of URL uploads. Just enter the website URL and you can take a screenshot directly from the editor in one of three ways:
When you upload an image, you’ll get a chance to edit it before you place it on the mockup. You can crop, rotate, flip, and align the image to fit the mockup. However, you don’t get anything else apart from these basic features.
You can’t add filters or adjust the image’s appearance, which might prove a bit limiting, especially in a mockup that has a background. Your image might stand out a bit if that’s the case (more on this later).
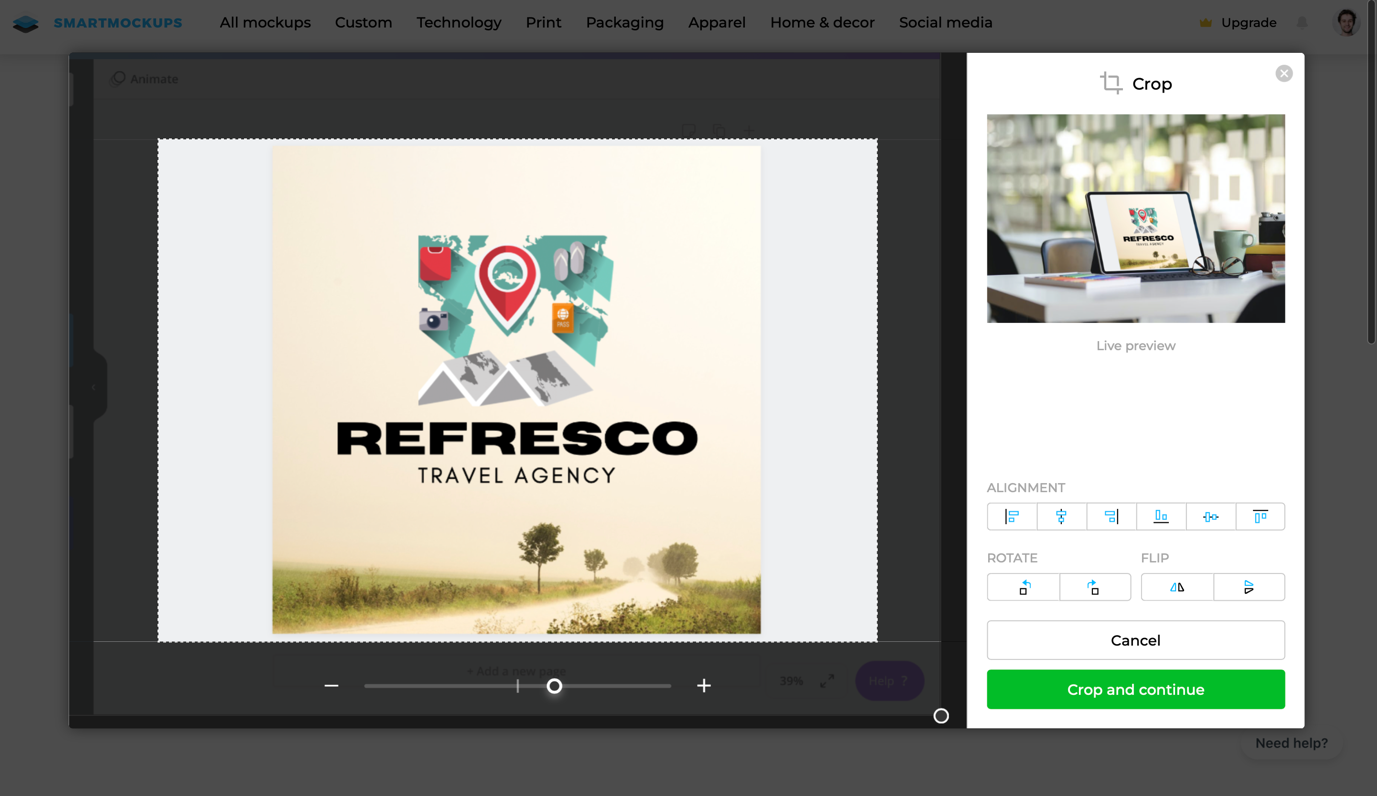
When you crop your picture, click Crop and Continue to see the finished product. There’s also a live preview that gives you an idea of what it will look like.
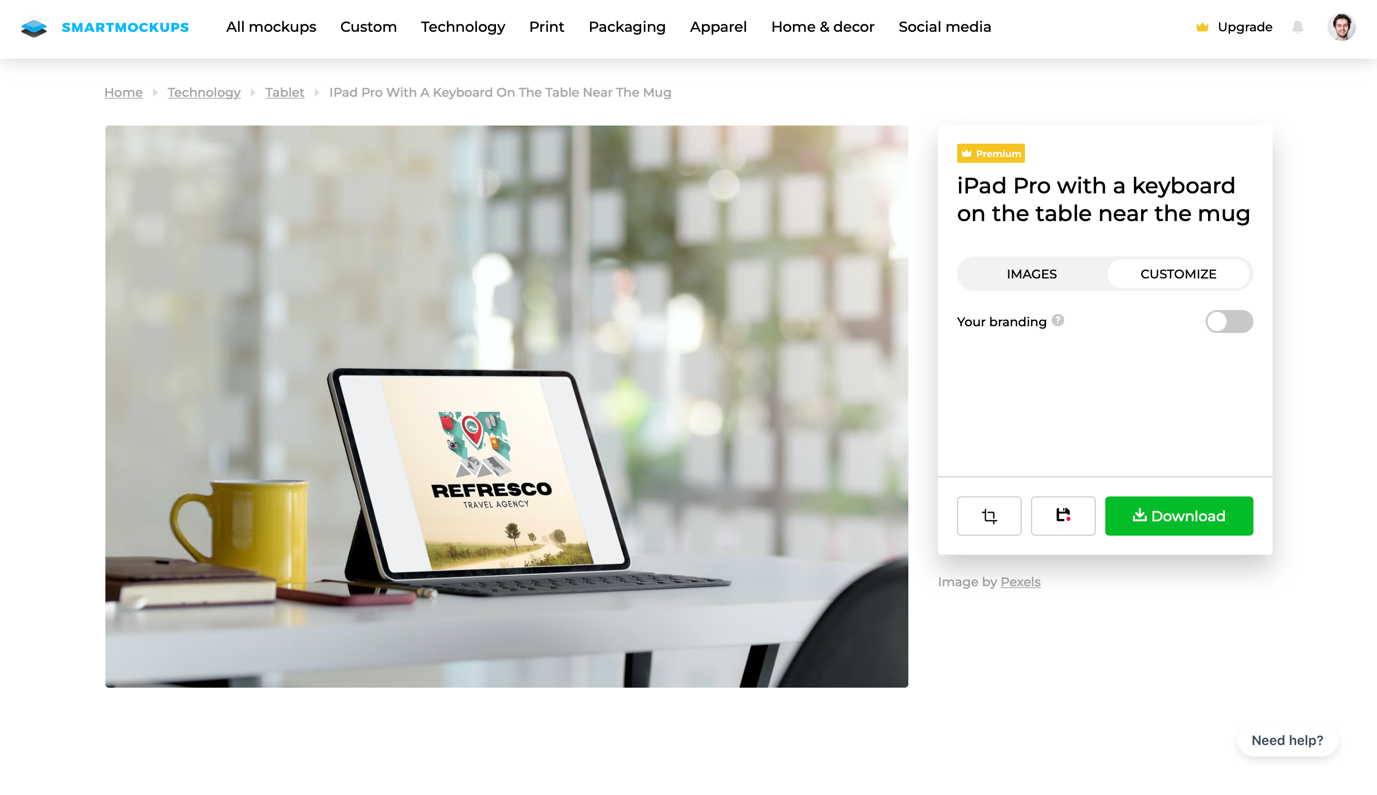
In this particular example, there wouldn’t be much else to do. You can’t edit the image any further and you can’t customize the scene either. When you click on the Customize tab, you can add your logo and watermark by toggling the Branding switch on, which is the only change that you can make.
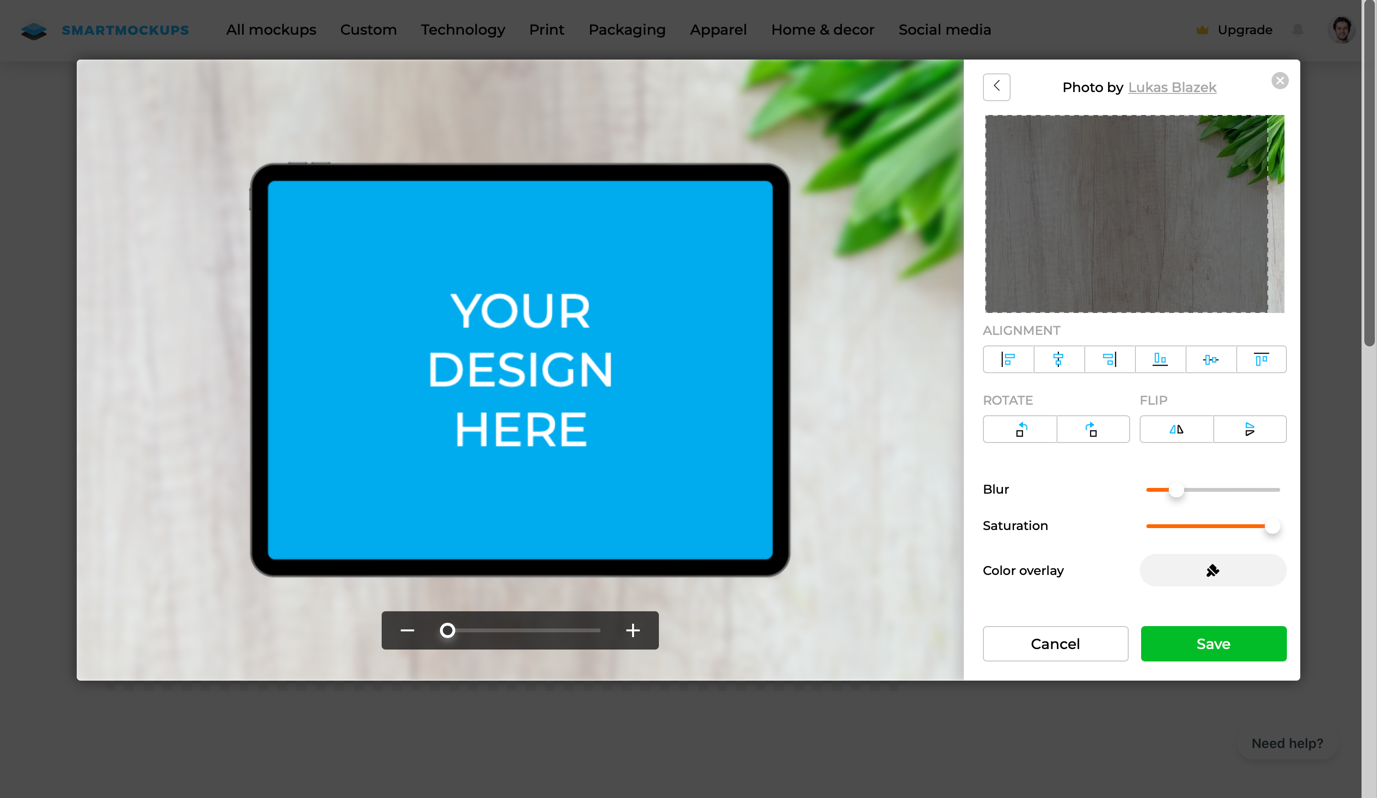
On the other hand, if you choose an isolated mockup, you’ll have more customization options. Since the background is transparent, you can add your own.
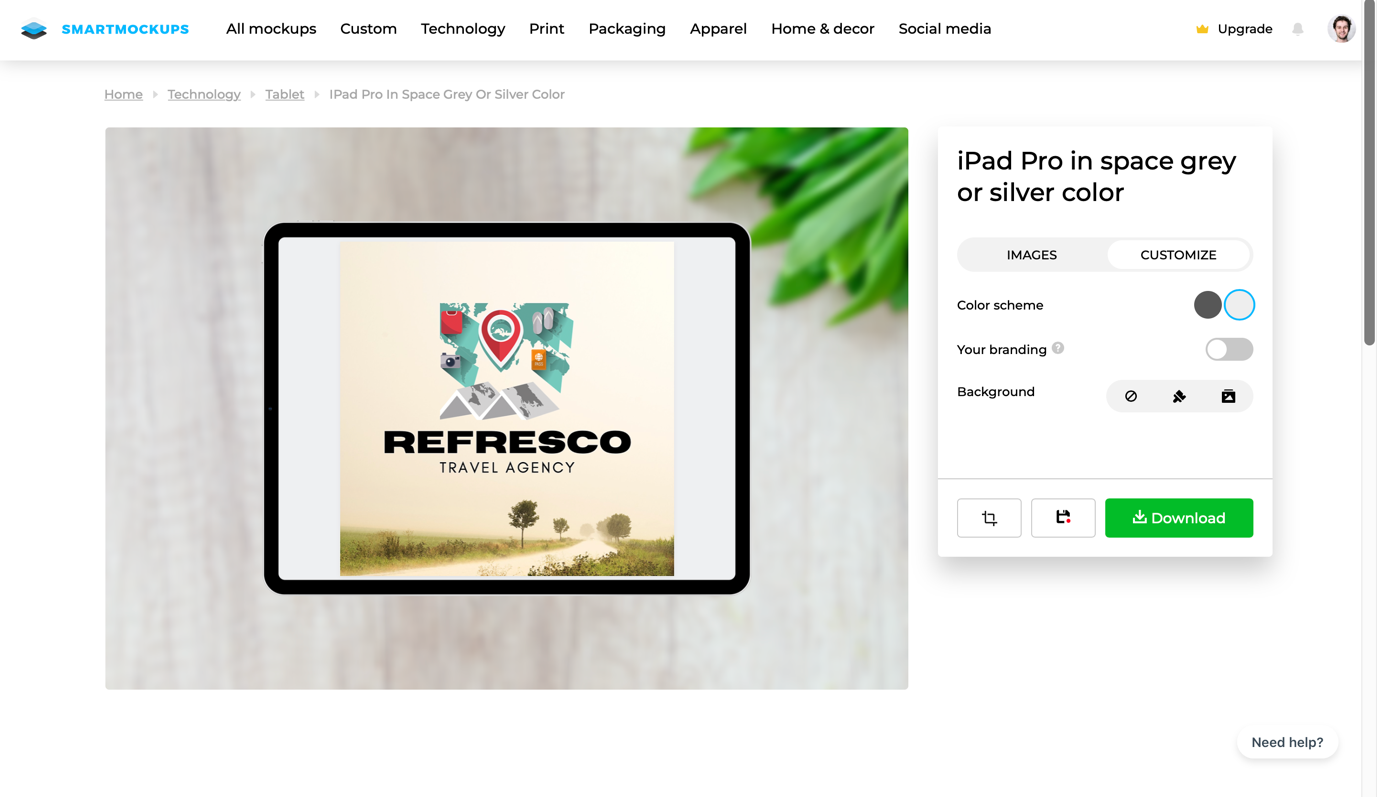
You can either upload your own photo or get one from Unsplash, assuming that you’ve integrated it with Smartmockups. Alternatively, you can choose a solid color for your background. You can also change the color scheme of the mockup product.
When you select a background, you can adjust it to fit the product. You can also customize its blur and saturation to make the product stand out. Finally, you can choose a color overlay that goes between the background and the product.
At this point, when you click Save you’ll see the new custom mockup. You can always go back and adjust things if needed. If not, you can download the mockup by clicking on the corresponding button.
When you do that, you’ll get to choose one of four resolution:
High-resolution photos are one of Smartmockups’ strongest points, so you won’t have to worry about the quality of your mockups. All of the scenes are captured in an outstanding resolution, supporting the earlier assertion that your mockups will look professionally-made. If you are uploading the images to the web we suggest you compress them using a tool like ShortPixel.
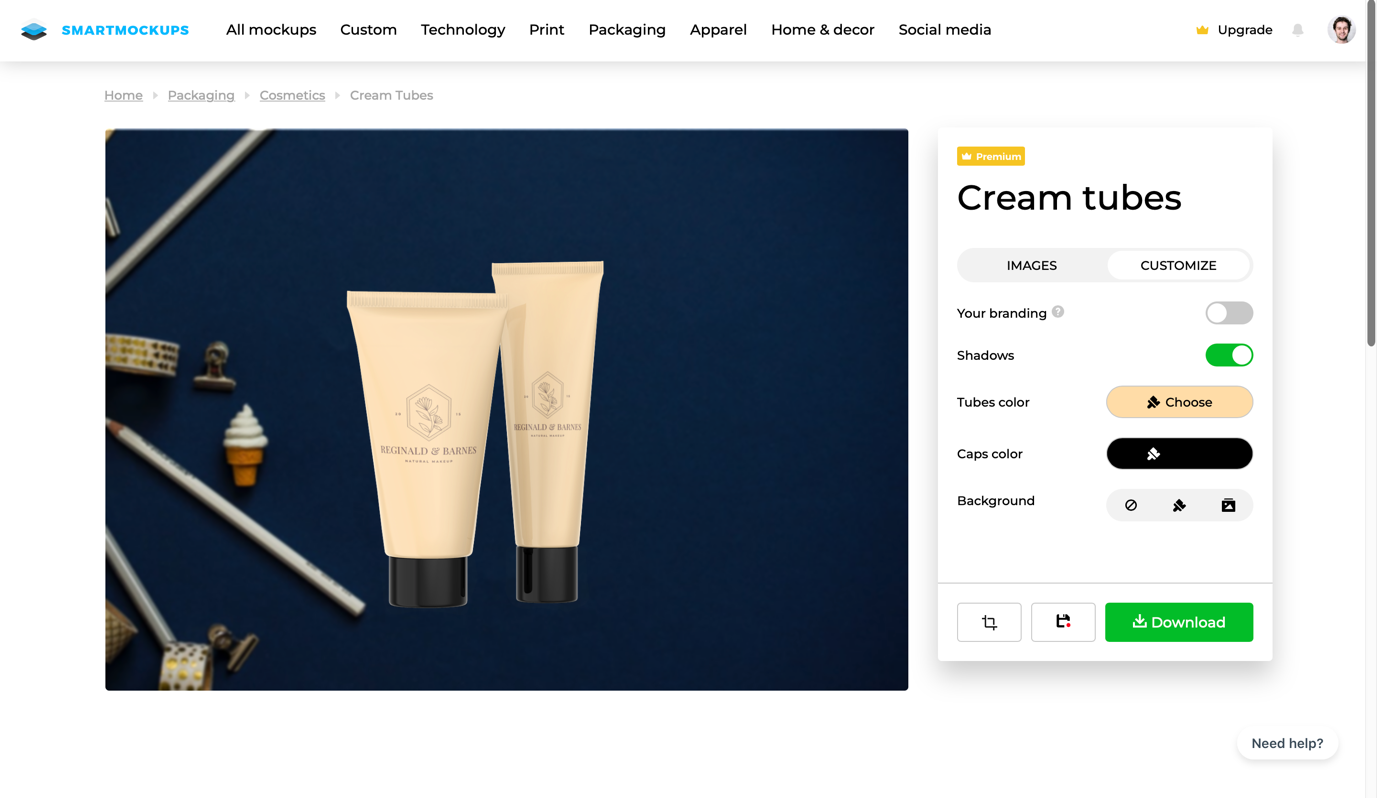
While the editing interface is largely the same, it changes based on the type of product. For instance, if you wanted to create mockups of cosmetics products, you’d get slightly different options than the above example.
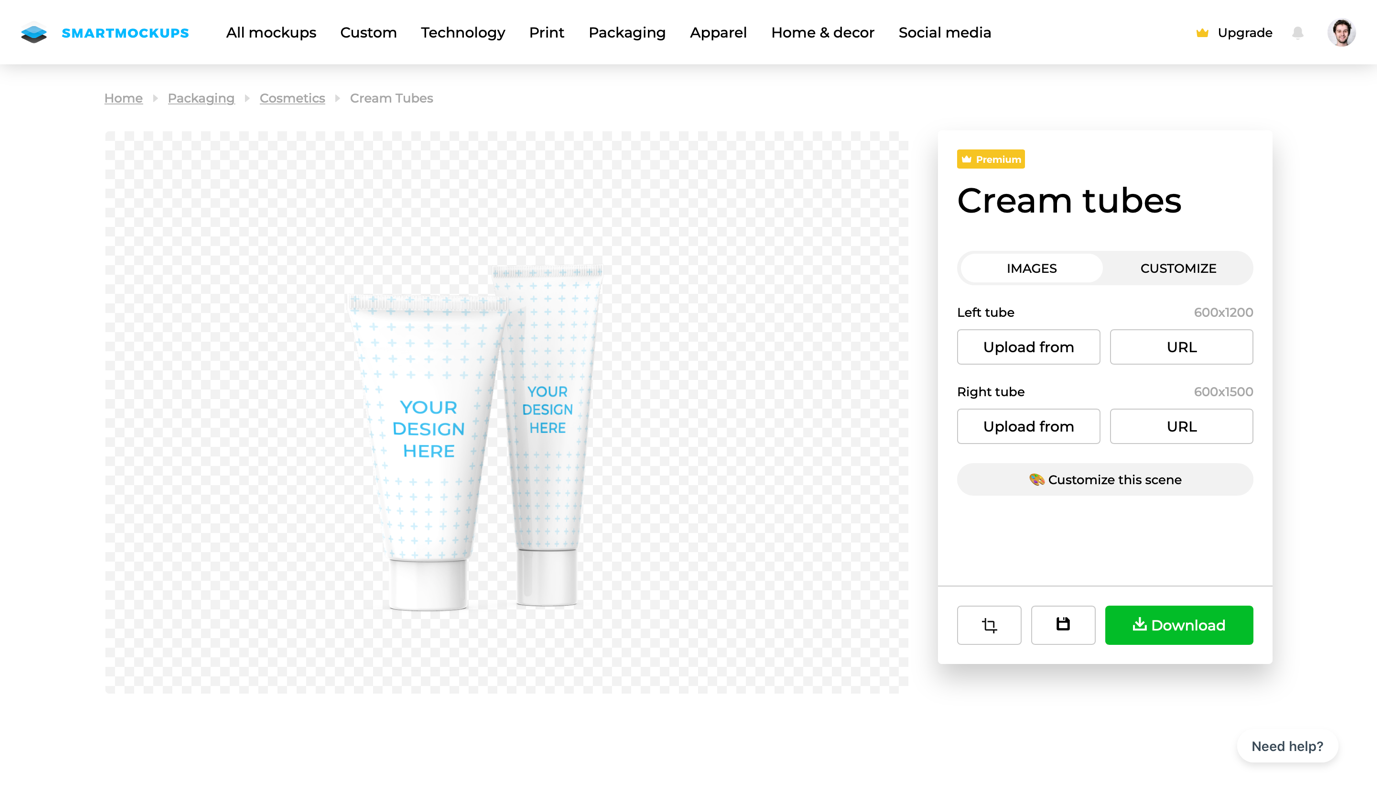
You can adjust the colors of the products and their elements, add or remove shadows, and get all the scene customization options as listed above. This added flexibility will allow you more freedom to showcase your product more realistically and in the best light.
The editor changes according to the type of mockup being created. For example, if you want to create a mockup Instagram page, you’ll get options to set the profile photo and feed images. For books and magazines, you can change the front cover, back cover, and spine, depending on the visible elements.
All in all, you should have no trouble adjusting the mockup to your liking. But if that’s not enough, you can create one of your own from scratch.
Even though Smartmockups’ library is rich enough for an average user, you still might not find the perfect scene. In this case, you can create your own. From the homepage, you can click on Custom and then Create new mockup to get to the editor.
You’ll be asked to upload a new image from your device that will serve as a background. You can’t edit an image after uploading so you’ll have to make sure that it’s ready to go.
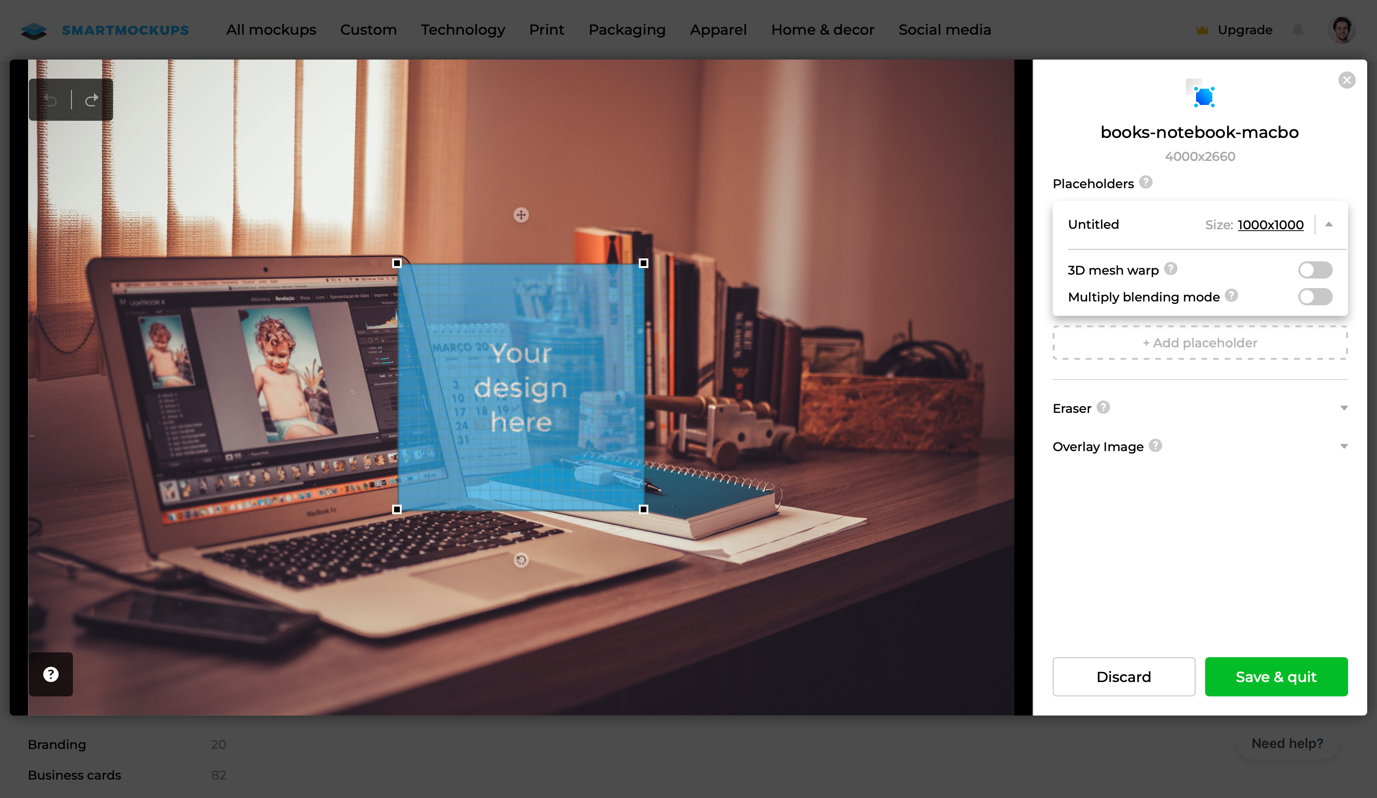
When you open the editor, you can start to add and edit placeholders. At first, the editor will show you the commands that you can use. Should you forget them, you can click on the question mark at the bottom-left corner to bring them up again.
Now, this is where things might get a bit confusing for some users, as the controls might take some time to get used to.
For example, you can’t resize the placeholder by dragging its sides like with other apps that you may be familiar with. Instead, you can only move each corner separately. This is to keep the aspect ratio constant, which is very convenient if you need a custom shape to fit an object.
You can hold Shift and click on multiple corners and drag them together. But when you click on all four, dragging won’t resize the placeholder but rather move it around. Because of this, your best option is to resize the placeholder by choosing one of the options on the side menu.
You can choose one of the presets (designed for different products). Alternatively, you can type in any custom size. And then you can drag the corners, if necessary, to fit the placeholder onto the product.
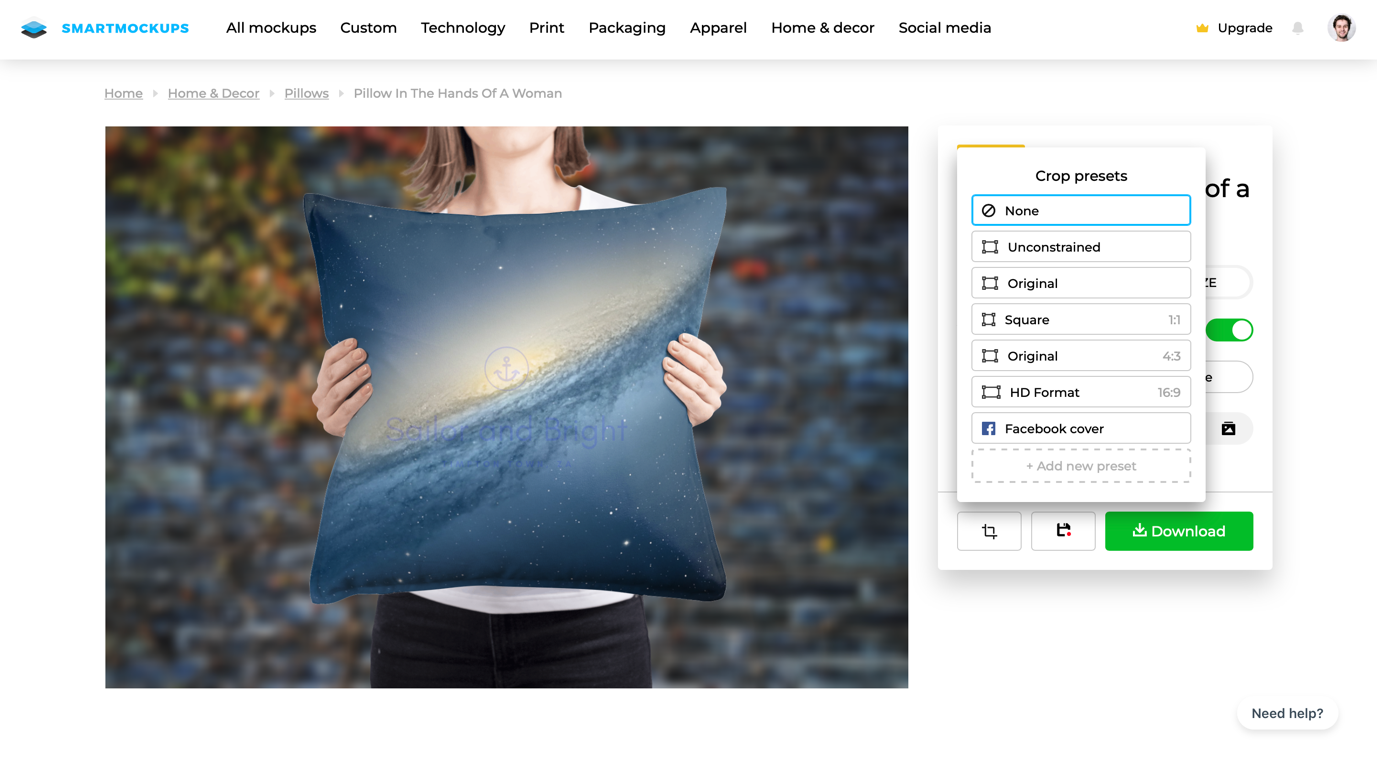
You can also toggle 3D Mesh Wrap on if you’re creating a mockup for products like a pillow. In this way, your placeholder will ensure that the image looks more realistic. And if there are any parts of the placeholder that you want to delete, you can do so with the eraser tool.
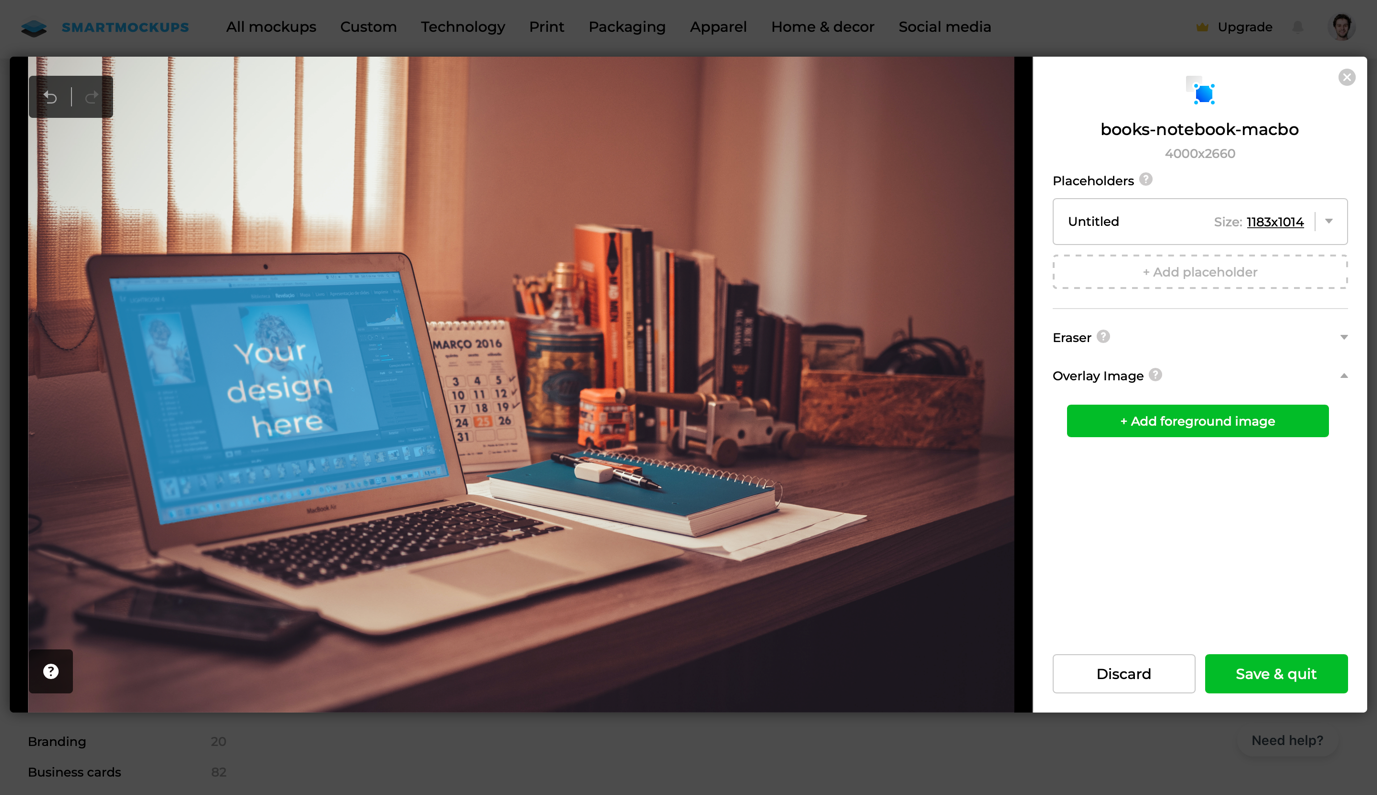
Finally, you can add an overlay image in the foreground. This is useful if you need to add effects like screen glare. The overlay must be in .png format and you’ll have to upload one directly from your device, as Smartmockups doesn’t provide any (at the time of writing).
Once you’ve created your mockup, you can select it from the Custom tab. As it’s treated as a photo, you won’t get many customization options.
Moving on, when you add an image to the placeholder, it might stand out if the background contains filters, like in the above example. This is where it would be nice to have more extensive image editing that would resolve this issue. Still, you might be able to get around it by adding the right foreground.
So far, you’ve seen all the important mockup creation features. But Smartmockups offers many more. Among them, branding is a critical standout.
You can add your logo to set it as a watermark on your products. However, this feature comes with a few drawbacks.
First of all, you can’t freely move your logo as you’re creating it. Instead, you have to choose a corner and then adjust the distance from it, which seems like an unnecessary complication.
Plus, after setting your watermark defaults, all your mockups will have them in the same place. When you’re customizing the mockup, you can only toggle the branding switch on and the static watermark will appear. In some cases, this might be inconvenient enough to prevent you from showcasing the product properly, depending on its position.
Smartmockups integrates with other popular image and design platforms. This allows you to streamline your workflow and further perfect your mockups. Currently, Smartmockups supports:
Since the platform gets updated with regularity, we can expect to see more integrations in the future. The integration with Canva is possibly the most useful as the two platforms work really well together. The combined tools enable you to create outstanding visual content.
You already saw that you could choose between four different sizes when downloading your mockup. But Smartmockups offers even more customization options when exporting your projects.
You can crop the mockup to the most popular aspect ratios in just one click. Plus, you can add more presets if the provided ones don’t meet your needs. Just click Add new preset, fill the X and Y-axis fields, and you’ll have the custom preset available for future projects.
As mentioned, the free version of Smartmockups is quite limited. For this reason, most serious users subscribe to one of the three available paid plans. This is especially true for the fact that the plans are rather affordable, considering all the extra features.
If you choose monthly billing, the pricing structure is all follows:
Annual billing is predictably more affordable, as it allows you to save up to 35%:
Smartmockups also offers a 7-day free trial for testing out all the platform’s features. You’ll get access to everything, so you’ll be able to decide if it fits your needs.
However, any mockup that you download during the trial will have a watermark. The only exception is the free templates, but there aren’t many of them to choose from. At the end of the trial, you can choose to continue to use the platform for free or subscribe to one of the paid plans.

